We want to be able to display the holograms that we compute, after all we are in computer graphics and we want to see our results. Since the whole process is well defined mathematically it is possible to simulate a holographic display using a standard 2D screen, but this only produces a single view of the hologram. We've discovered that there can be significant differences between the mathematical reconstruction of a hologram and one displayed on real hardware. These differences are both positive and negative, so the best test of our algorithms is to display the results of real hardware.
This part of the website provides an introduction to the different hardware components that are required to build a holographic display. If you want to start building your own display see the Low Cost Hardware section of this website, you don't need to understand the material in this section. To start off, what do we mean by a holographic display? There are multiple answers to this question depending upon your intended application. Since this website is aimed at computer graphics researchers our main aim is to produce a device where users can immediately view a hologram. Ultimately, we would like this display to be interactive, so we want to be able to load interference patterns onto the device and immediately see the results. We would like our display to be similar to a normal computer terminal where we can just walk up to the display and view the hologram. There is also the possibility of viewing the hologram on a projection screen.
There are three main components of a holographic display:
We need a laser to serve as the reference beam to reconstruct our hologram. Lasers is a very big topic, so we need to do something to narrow it down a bit. There are three main criteria for the lasers that we want to use:
By far the most common type of laser, with the red laser diode being quite cheap. These are basically a diode with a p-n junction that has been appropriate doped. When an electric current is applied some electrons will jump to a higher energy band and when they relax they will release a photon of a particular wavelength (or frequency). The substrate and doping largely govern the frequency of the photon that is emitted and the aim is to select a single wavelength in the visible spectrum. By itself this won't produce a laser, we need to add a resonator to the diode. The basic idea is that the resonator's length is an integer multiple of the desired wavelength. At both ends of the resonator are surfaces that act like mirrors so the light bounces back and forth in the resonator. Since the resonator is an integer multiple of our desired wavelengh light of this wavelength will constructively interfere. Light of other wavelengths will destructively interfere and those die out. Eventually some of this light will escape the resonator and will form the laser beam. The whole process is more complex than this, but for our purposes we don't need to get into the details.
There are many variables in the manufactoring process that influence the quality of the beam and the cost of the device. In general, lower cost laser diodes produce a range of wavelengths, so their specifications don't have a single wavelenght, but instead a range of acceptable wavelengths. The wavelenth also varies with temperature, which is usually not a major problem for low power laser diodes.
One concern with diode lasers is their line width or spectrum. The mathematics and phyics of holography assumes that the reference beam is made up of light of a single frequency. This is not the case in practice and most lasers have a spectrum of finite width. There are a number of reasons for this ranging from variations in termperature or power to impurities in the manufacturing process. In the case of low cost laser diodes the spectrum could be as wide as 5 nm, which is significant. There are techniques that produce much narrower spectrums, but they are more expensive and research topics. A hologram will still be produced when the spectrum is a few nm wide, and it can work in our favour, so it is not a major concern.
The most common visible light laser diodes are red, but they can sometimes be found in green or blue. A red laser diode can cost less than $5, but you are better off with one around $30 since it will have a more stable spectrum.
Solid state lasers are based on a crystal that has been doped to increase the number of free electrons in the crystal. The crystal has mirrors at both ends so it forms its own resonator and its length must be an integer multiple of the desired wavelength. Light from a laser diode provides the energy required to excite the electrons, this is called pumping. The pumping is most effective if the laser diode wavelength is related to the wavelength of the desired light.
Solid state lasers are more complex and expensive than laser diodes, but have several advantages:
Solid state lasers are probably the best choice for green and blue lasers and good quality ones can cost several hundred dollars.
There are two packaging options for laser diodes:
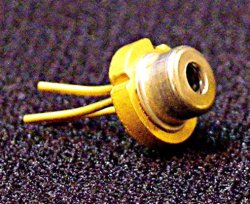
The raw laser diodes is packaged in a small container with three leads. In addition to the laser diode there is also a photo diode in the package which is used to measure the power output of the laser.' It is important to constantly monitor to power output of diode laser so it is not damaged by too much heat and light energy. One of the leads is common between the laser diode and photo diode, reducing the number of connections by one. The following picture shows a raw laser diode from US Lasers (http://www.us-lasers.com/).
A laser module contains the laser plus a power supply and some optics. Why is this important? The power supply for laser diodes is different from other electronic components due to their electrical properties. The power supply must be designed to maintain a constant power from the laser, and the photodiode is used to assist with this. It is possible to design your own power supply, but in the end it would cost you more than the corresponding module.
A laser module is power by a low voltage source, ranging from 3 volts to 5 volts. This power can be supplied by a battery or a low voltage power supply. They can draw a fair amount of current depending upon the type of laser diode and this is something you should check in the specification. You cannot drive them with a Arduino or Raspberry Pi like a normal LED!
There are multiple packaging options for laser diodes.
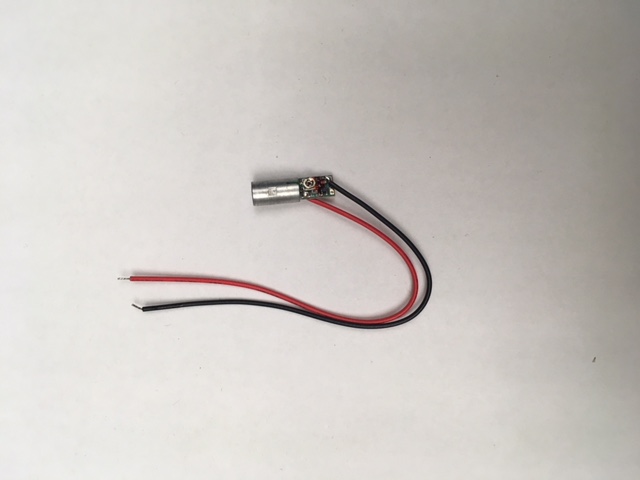
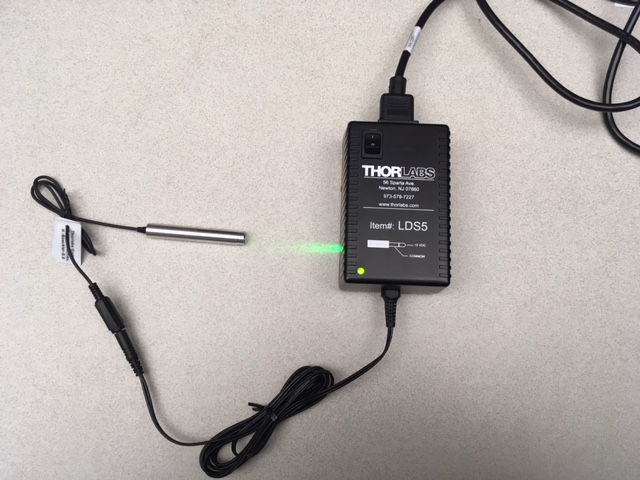
The simplest one to deal with is just two leads as shown in the pciture below.
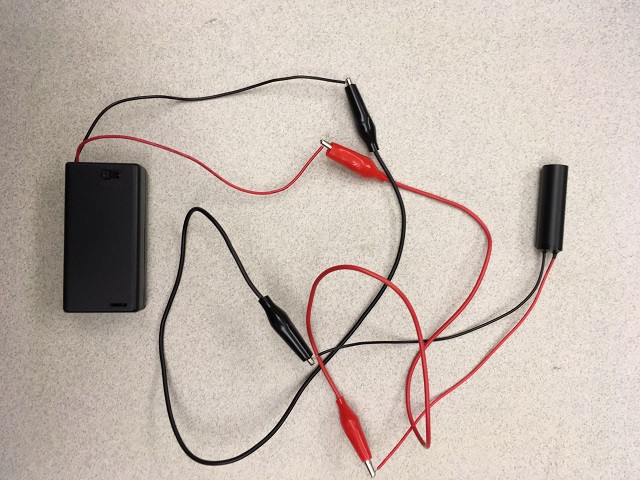
In this case some alligator clips can be used to connect the laser to a battery pack.
The laser requires a 3 volt power source which is provided by two AA batteries.
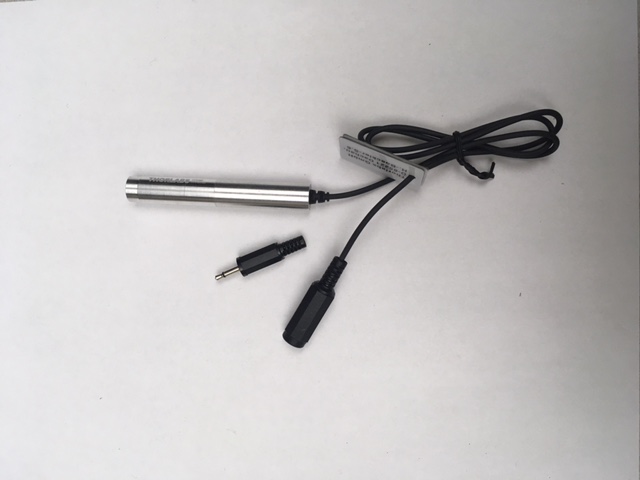
 Another common packaging option is a spring connection as shown in the following picture.
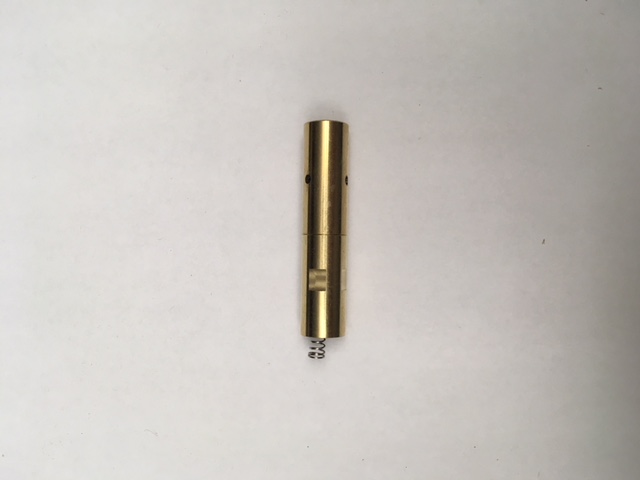 In this package the case is the positive connection and the spring is the negative connection.
I've used two approaches to optics. When I started I used relatively cheap materials and wasn't too concerned about precise positioning. You need to have a solid mounting for the optics or you will soon become quite frustrated. In the low cost display I used Meccano a construction toy with metal parts. This was good enough to get things started and produced a portable display.
For more serious work you need something better and numerous fabrication systems have been developed for optics. The simplest involve a straight line path, which unfortunately won't work for our application, since in general we will need a 2D layout. This brings us to optical breadboards, an example of which is shown below.
 This is an English breadboard, since all the measurements are in English units.
There are also metric breadboard, where the measurements are in metric units.
The two systems are not compatible, that is a metric components will not fit on
an English breadboard.
There are adaptors that can do some conversions, but before you start decide on the
system you will use and stick with it.
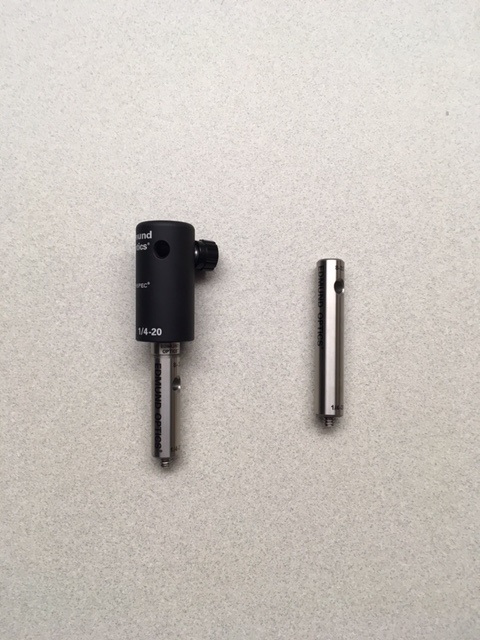
This is a 12"x12" breadboard and and the holes are on 1" centers. These holes are tapped so posts can be screwed into them to support various optical components. Optics suppliers sell kits with various height posts that can get you started. You will also find that their websites have a wide range of components that you can add to your breadboard. Optical breadboards are quite heavy to resist vibrations when they are in use. They also come in several grades, the lower grades are sufficient for the type of work we will do. On the right side of the picture below is a 3" post and on the left is a post holder mounted on a 2" post. The post holder allows a post that is inserted in the top to be rotated around 360 degrees. There is a thumb screw that is used to secure the post once the desired rotation has been reached.
With this in hand we can quickly prototype a holographic display similar to the low cost one in another part of this website. For this display we need three components:

 The whole configuration was put together in a few minutes which is one of the main benefits
of using an optical breadboard.
The main disadvantage is the cost, where you are looking on the order of $2000 to get started.
If you have a physics department in your university with a good optics lab this may be
a good place to start.